How to Use Picarta
Picarta is an AI tool that estimates where a photo was taken using only the visual content of the image. No EXIF data or metadata is needed - just the picture itself.
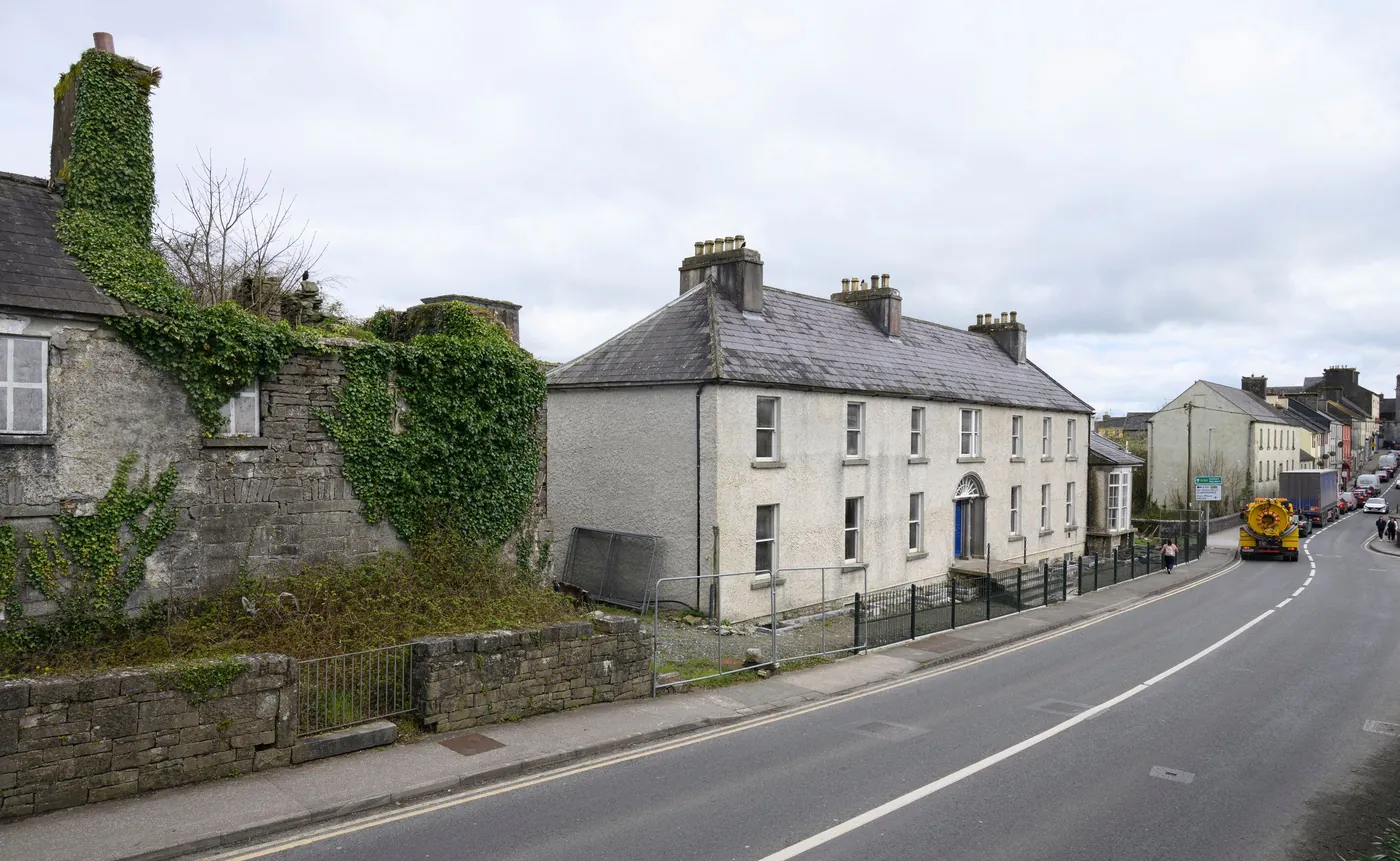
This guide walks you through finding a photo's location step by step. We'll use a real example: a photo from Ballinrobe, Co. Mayo, Ireland (source: irishtimes.com). The same workflow works for any photo taken in any country - simply substitute your own country and region as you go.
Prefer to integrate Picarta into your own app or workflow? Picarta also offers a Python API (see also our GitHub repo); the rest of this guide focuses on the web interface.
Before You Start
Use a Desktop or Laptop
For the best experience, use Picarta on a desktop or laptop rather than a phone. The interface involves interacting with maps, drawing search areas, and reviewing multiple results - all of which are far easier with a larger screen and a mouse. Any modern browser (Chrome, Firefox, Edge, Safari) works.
Create an Account
To see full results - including GPS coordinates - you need a registered account with available search credits. Visit picarta.ai to sign up, or check our plans. For high-volume use, businesses can contact us about an Enterprise plan with dedicated infrastructure and priority support.
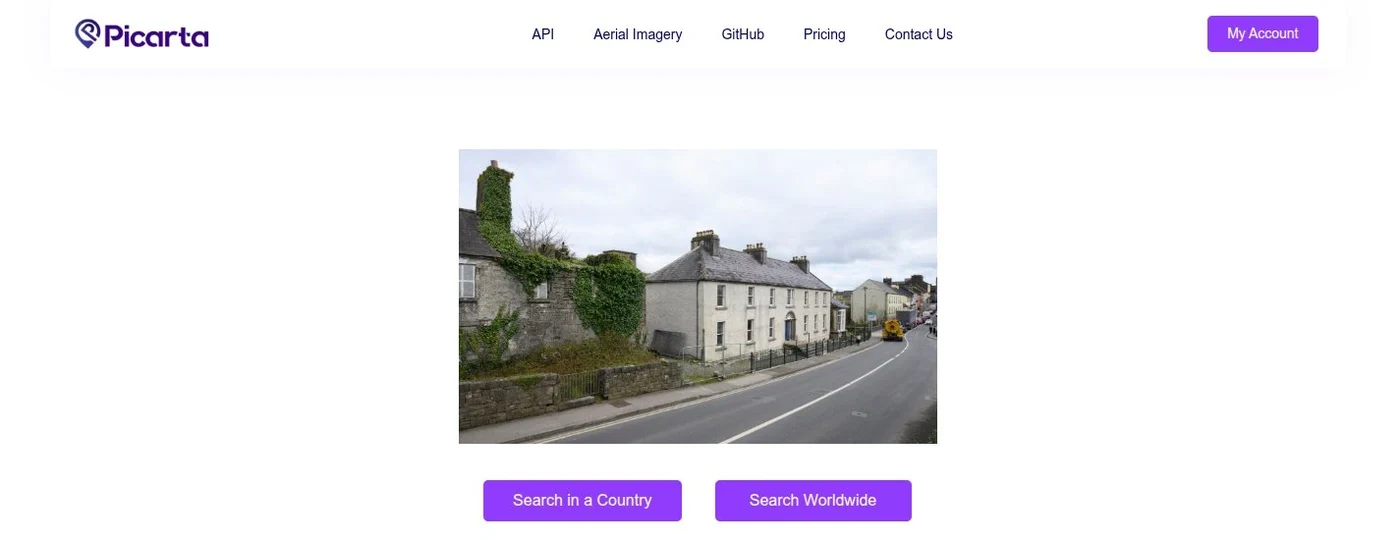
Step 1: Upload Your Photo
Go to picarta.ai. There are two ways to load an image:
- Click Upload a Photo to pick a file from your computer.
- Or paste an image URL into the link field and press the search icon.
Supported formats include JPG, PNG, and WEBP. Photos work best when they show outdoor scenes, buildings, landscapes, or street views - anything with visually distinctive features.

Step 2: Choose Where to Search
After uploading, you'll see two options:
- Search Worldwide: searches across the entire world.
- Search in a Country: narrows the search to a single country.
We recommend Search in a Country whenever you have any idea where the photo might be from. Narrowing the search area significantly improves the AI's accuracy.
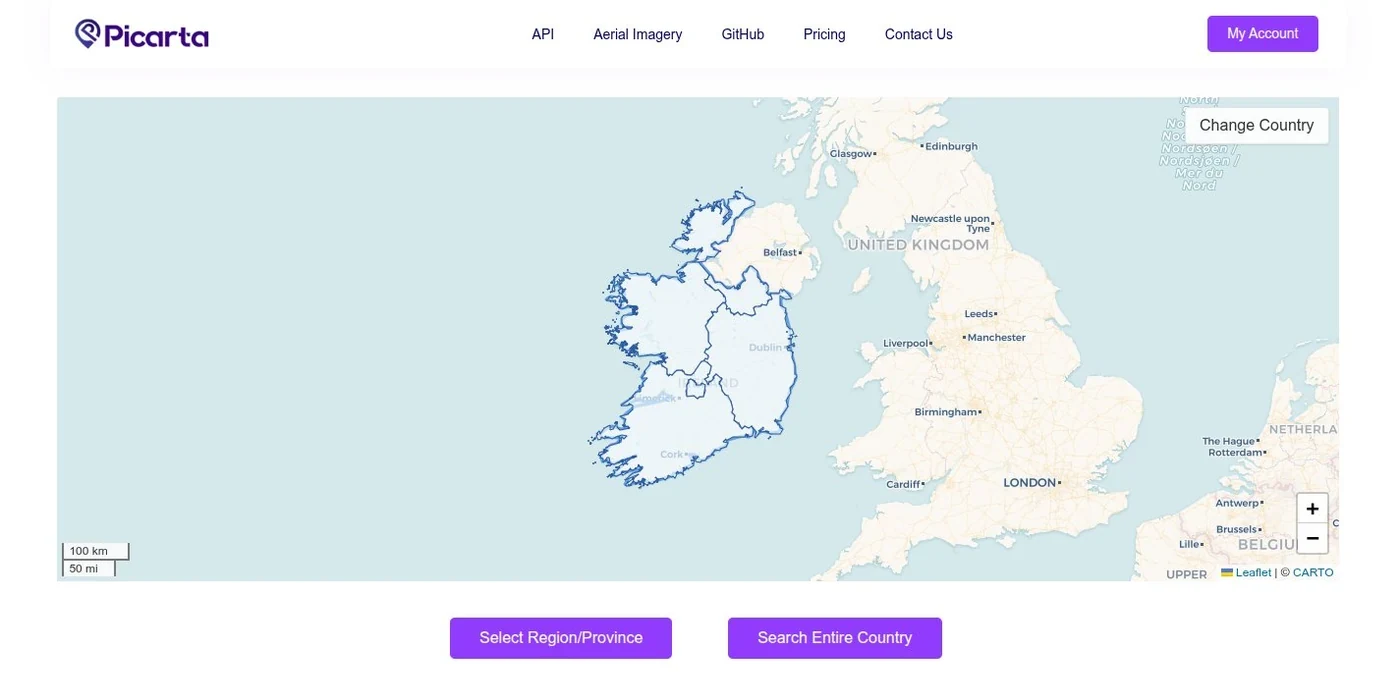
Step 3: Select a Country on the Map
A world map appears. Click the country where you think the photo was taken. In our example, we click on Ireland - but you can select any country.
Once selected, the country is highlighted and the map zooms in. You'll then see two options:
- Select Region/Province: choose a smaller administrative area inside the country. For Ireland, the four provinces are Connacht, Leinster, Munster, and Ulster.
- Search Entire Country: search across the whole country.
If you have any idea which part of the country the image might be from, choose Select Region/Province. If not, press Search Entire Country.
Step 4: Narrow Down to a Region
After picking a region - in our example, Connacht - you can narrow down further:
- Focus on Specific Area: draw a circle on the map around a smaller search zone.
- Search Region/Province: search across the entire selected region.
If you have some idea of the area where the image may have been taken, choose Focus on Specific Area. Otherwise, press Search Region/Province.
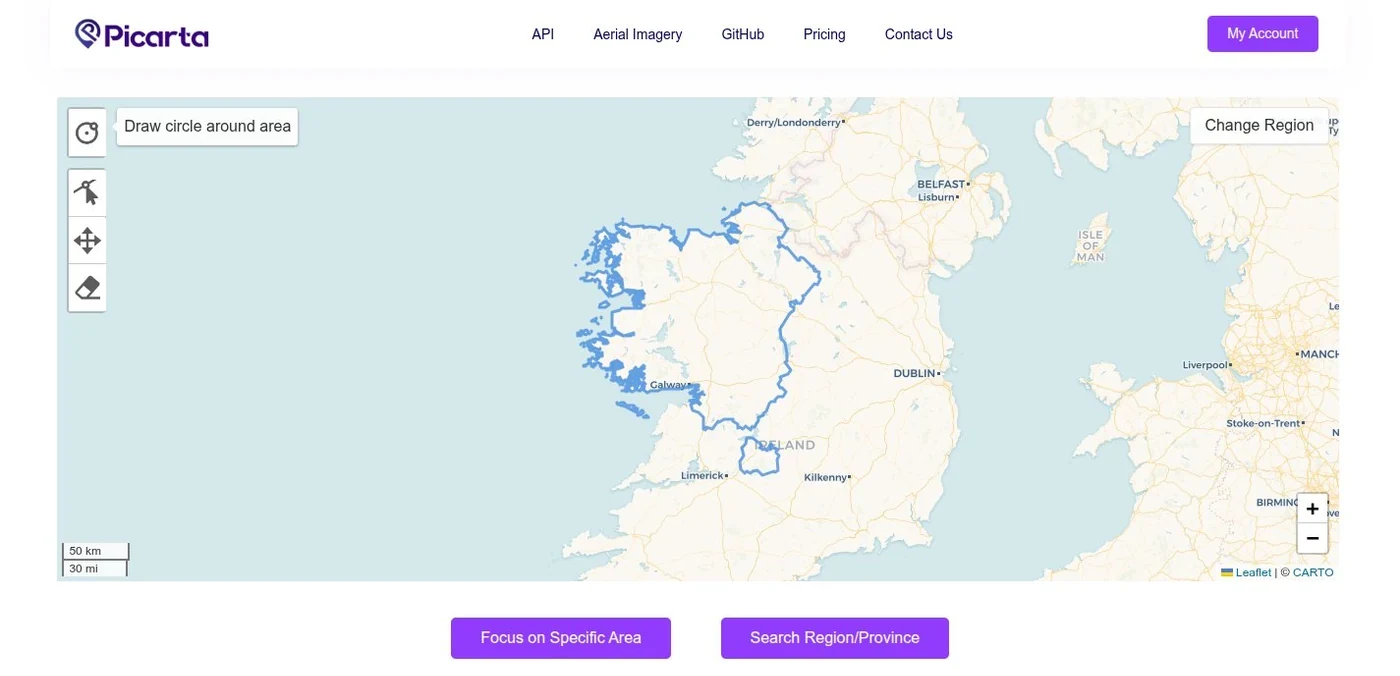
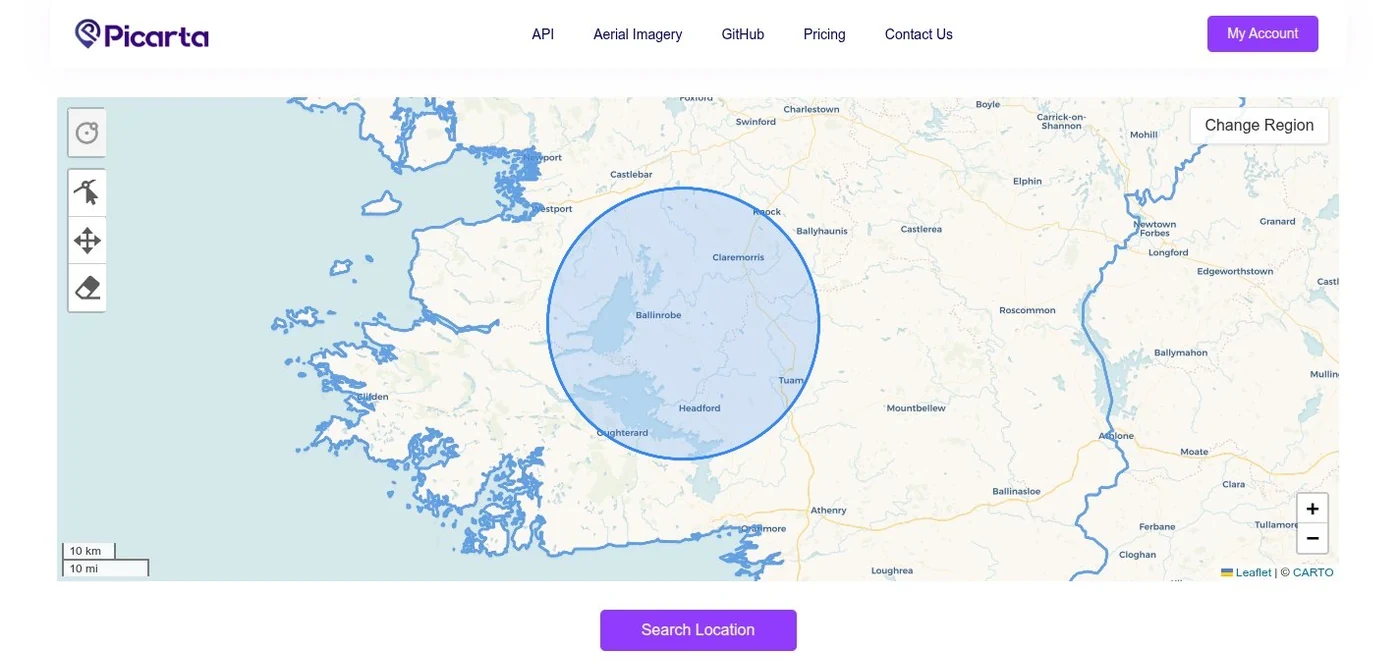
Step 5: Draw a Search Area
If you chose Focus on Specific Area, a map of the selected region is shown with a circle drawing tool:
- Click the circle button on the top-left corner of the map.
- Click and drag the map to draw a circle around the area you want to search.
- Press Search Location to start the analysis.
Tip: draw a larger circle if you're unsure about the exact area. You can always refine your search later.
If No Results Are Found
If Picarta can't find a match within your drawn search area, you'll see a message saying no matching location was found. No credits are deducted for unsuccessful searches, so you can try again freely.
If this happens, try one of the following:
- Draw a larger circle in the same general area.
- Draw a circle in a different area where you think the image may have been taken.
- Go back and search the entire region or country.
Reviewing Your Results
This is the most important part of the process. Once Picarta returns predictions, take the time to review all of them - not just the top result.
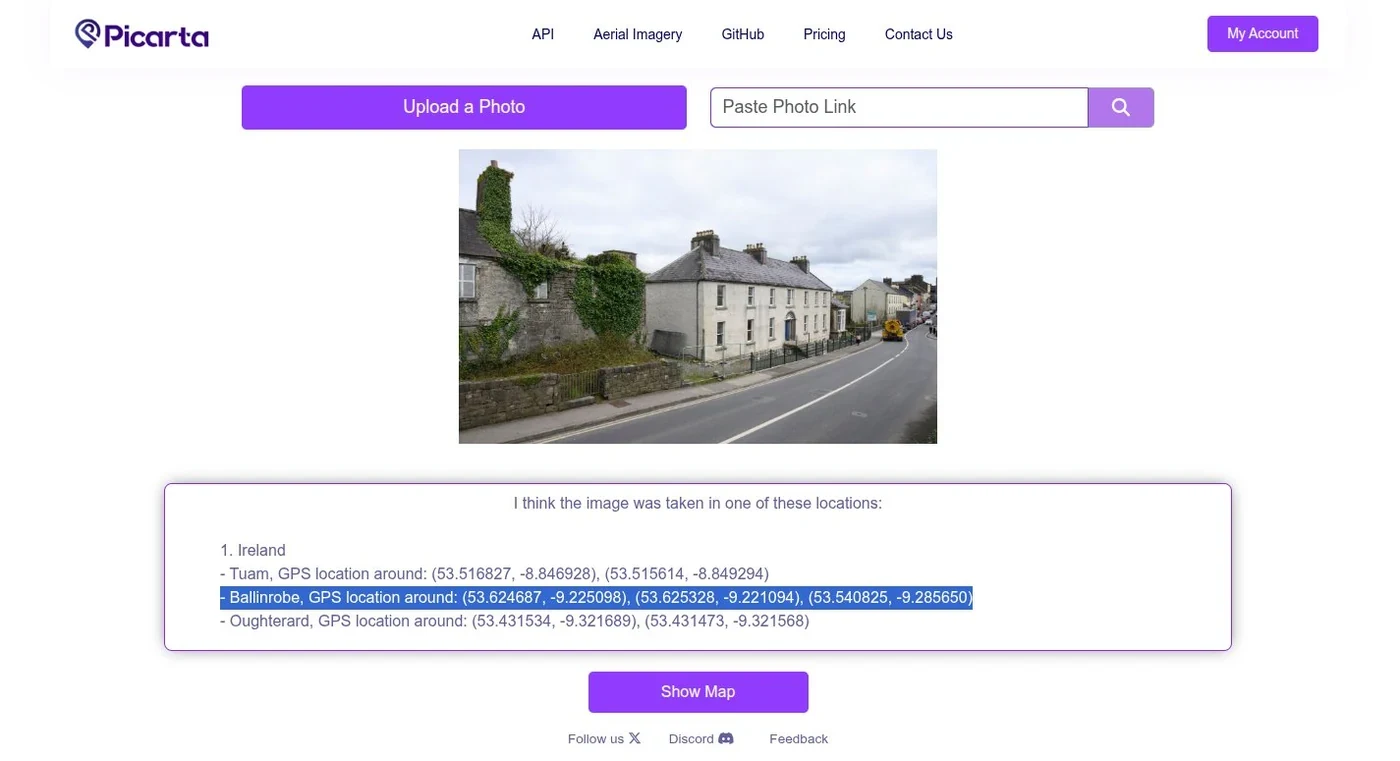
Text Results
Picarta displays a list of predicted locations, grouped by country and city, each with GPS coordinates and a confidence percentage.
In our Ballinrobe example, the correct location appears second in the list, not first. This shows why you should always check every result - the correct match isn't always at the top.
- Save the text output locally: copy the results into a document or note for your records.
- Check every result: don't only look at the top one, especially when confidence scores are low.
Map View
Click Show Map to view all predicted locations on an interactive map. The map shows a heatmap overlay highlighting prediction density, plus individual markers for each result.
- Click each marker to see its GPS coordinates, confidence score, and a link to Google Maps.
- Check all the points on the map, not just the main cluster.
- Use View on Google Maps in any marker popup to explore the location in more detail.

Verifying on Google Maps
For each result, click View on Google Maps. The map opens at the predicted coordinates. The actual location may be a few metres off from the AI's output, so spend time exploring the surrounding area.
Tips for Better Results
- Use "Search in a Country" whenever possible. Avoid "Search Worldwide" if you have any clue about the country. Narrowing the area significantly improves accuracy.
- Pick a region when you can. If you know which part of the country the image is from, choose the appropriate province or region.
- Review all results. The correct match isn't always the top result - as our Ballinrobe example shows, it appeared in second place.
- Save your results. Copy the text output and save it locally before starting a new search.
- Verify with Google Maps. Open each result in Google Maps and explore the surrounding area; the GPS may be offset by a few metres.
- Try multiple searches. If a focused circle finds nothing, try a larger area or a different region. No credits are deducted for unsuccessful searches.
- Use a desktop computer. Map interactions, circle drawing, and reviewing results are much smoother on a PC with a mouse than on a phone.
Using the API
If you need to localize images programmatically - for batch jobs, automation, or integration into your own product - Picarta exposes a Python API that returns up to 10 predicted locations with confidence scores. Here's a minimal example:
# First, pip install picarta
from picarta import Picarta

api_token = "YOUR_API_TOKEN"
localizer = Picarta(api_token)

# Geolocate a local image
result = localizer.localize(img_path="/path/to/local/image.jpg")

print(result)Need Help?
If you have questions or want to discuss an Enterprise plan with dedicated infrastructure and priority support, reach out via our contact page, or join our Discord community for updates, discussions, and direct support from the Picarta team.